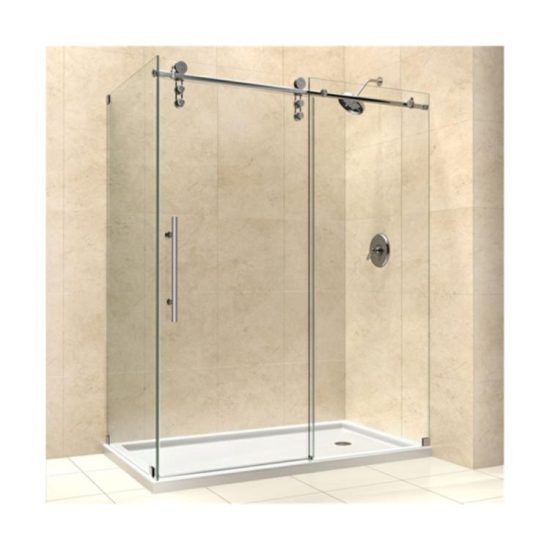
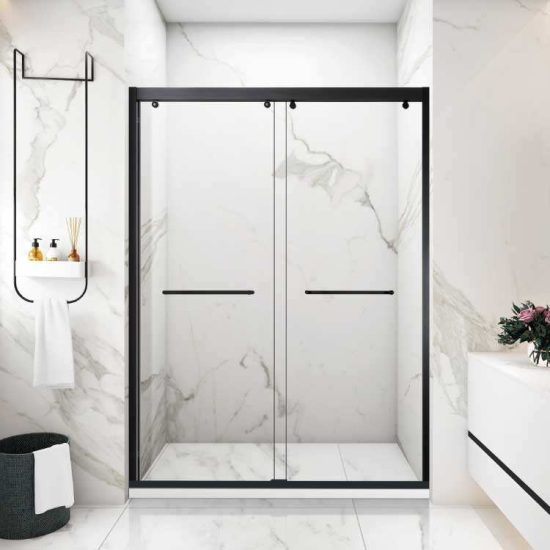
Installing shower doors can be a challenging DIY project, but with the right tools, materials, and careful execution, it’s possible to achieve a professional-looking result. Here are some DIY tips for installing shower doors:
- Read the Instructions:
- Carefully read and understand the manufacturer’s instructions that come with the shower doors. Follow the step-by-step guidance provided in the manual.
- Gather Necessary Tools and Materials:
- Ensure you have all the required tools and materials before starting the installation. This may include a level, measuring tape, drill, screwdriver, and any specific tools recommended by the manufacturer.
- Prepare the Shower Opening:
- Make sure the shower opening is clean, level, and free from any debris. If necessary, repair or adjust the shower frame to ensure it is suitable for the door installation.
- Check Plumb and Level:
- Use a level to ensure that the walls and the shower opening are plumb and level. This is crucial for the proper alignment of the shower doors.
- Follow a Systematic Approach:
- Start by installing the bottom track or guide according to the manufacturer’s instructions. Follow this with the installation of side jambs or wall channels.
- Install Door Panels:
- Carefully install the door panels into the tracks or hinges. Ensure that the doors are level and properly aligned. Use shims if necessary to make adjustments.
- Secure Hinges and Hardware:
- If your shower doors have hinges or other hardware, make sure they are securely fastened. Use the provided screws and anchors, and double-check the tightness.
- Apply Sealant:
- Use a waterproof sealant to seal the edges of the doors and any gaps between the glass and the frame. This helps prevent water leakage.
- Check for Smooth Operation:
- After installation, open and close the doors to ensure they operate smoothly. Adjust the hardware if necessary to achieve the desired functionality.
- Let Sealant Cure:
- Allow the sealant to cure completely before using the shower. Follow the recommended curing time specified by the sealant manufacturer.
- Water Test:
- Perform a water test to check for any leaks. Run water in the shower and carefully inspect the edges and seams for signs of water infiltration.
- Make Final Adjustments:
- After the initial test, make any final adjustments needed for proper alignment and functionality.
- Securely Anchor to Wall Studs:
- When attaching the frame or hardware to the walls, ensure that screws are anchored into wall studs for stability and strength.
- Safety First:
- Wear appropriate safety gear, including safety glasses and gloves, during the installation process.
If you feel unsure about any aspect of the installation, it’s advisable to consult with a professional or seek guidance from the manufacturer. Additionally, ensure compliance with local building codes and regulations. Installing shower doors can be a precision task, and taking the time to do it right will result in a secure and aesthetically pleasing installation.


